Spring is just around the corner, and for athletic facility managers, that means it is time to prep the courts and fields. A professional, taut windscreen installation not only looks fantastic but extends the life of your investment. Here is the All Court Fabrics “Pro Method” to get it right the first time.
Part 1: The “Pro” Prep-Work (Before You Unroll)
Tip 1: Check the Weather
This is the #1 rule. Do NOT install on a windy day. Wind will turn the windscreen into a sail, making it impossible to get a taut, professional fit and creating a serious safety hazard for your crew.
Tip 2: Use Your Diagram
Before you start, lay each panel out by its corresponding fence section. If you have a diagram from when you ordered your All Court Fabrics screens, use it to match the labeled panels to the correct fence sections. This prevents confusion once you start hanging.
Tip 3: Identify the “Right” Side
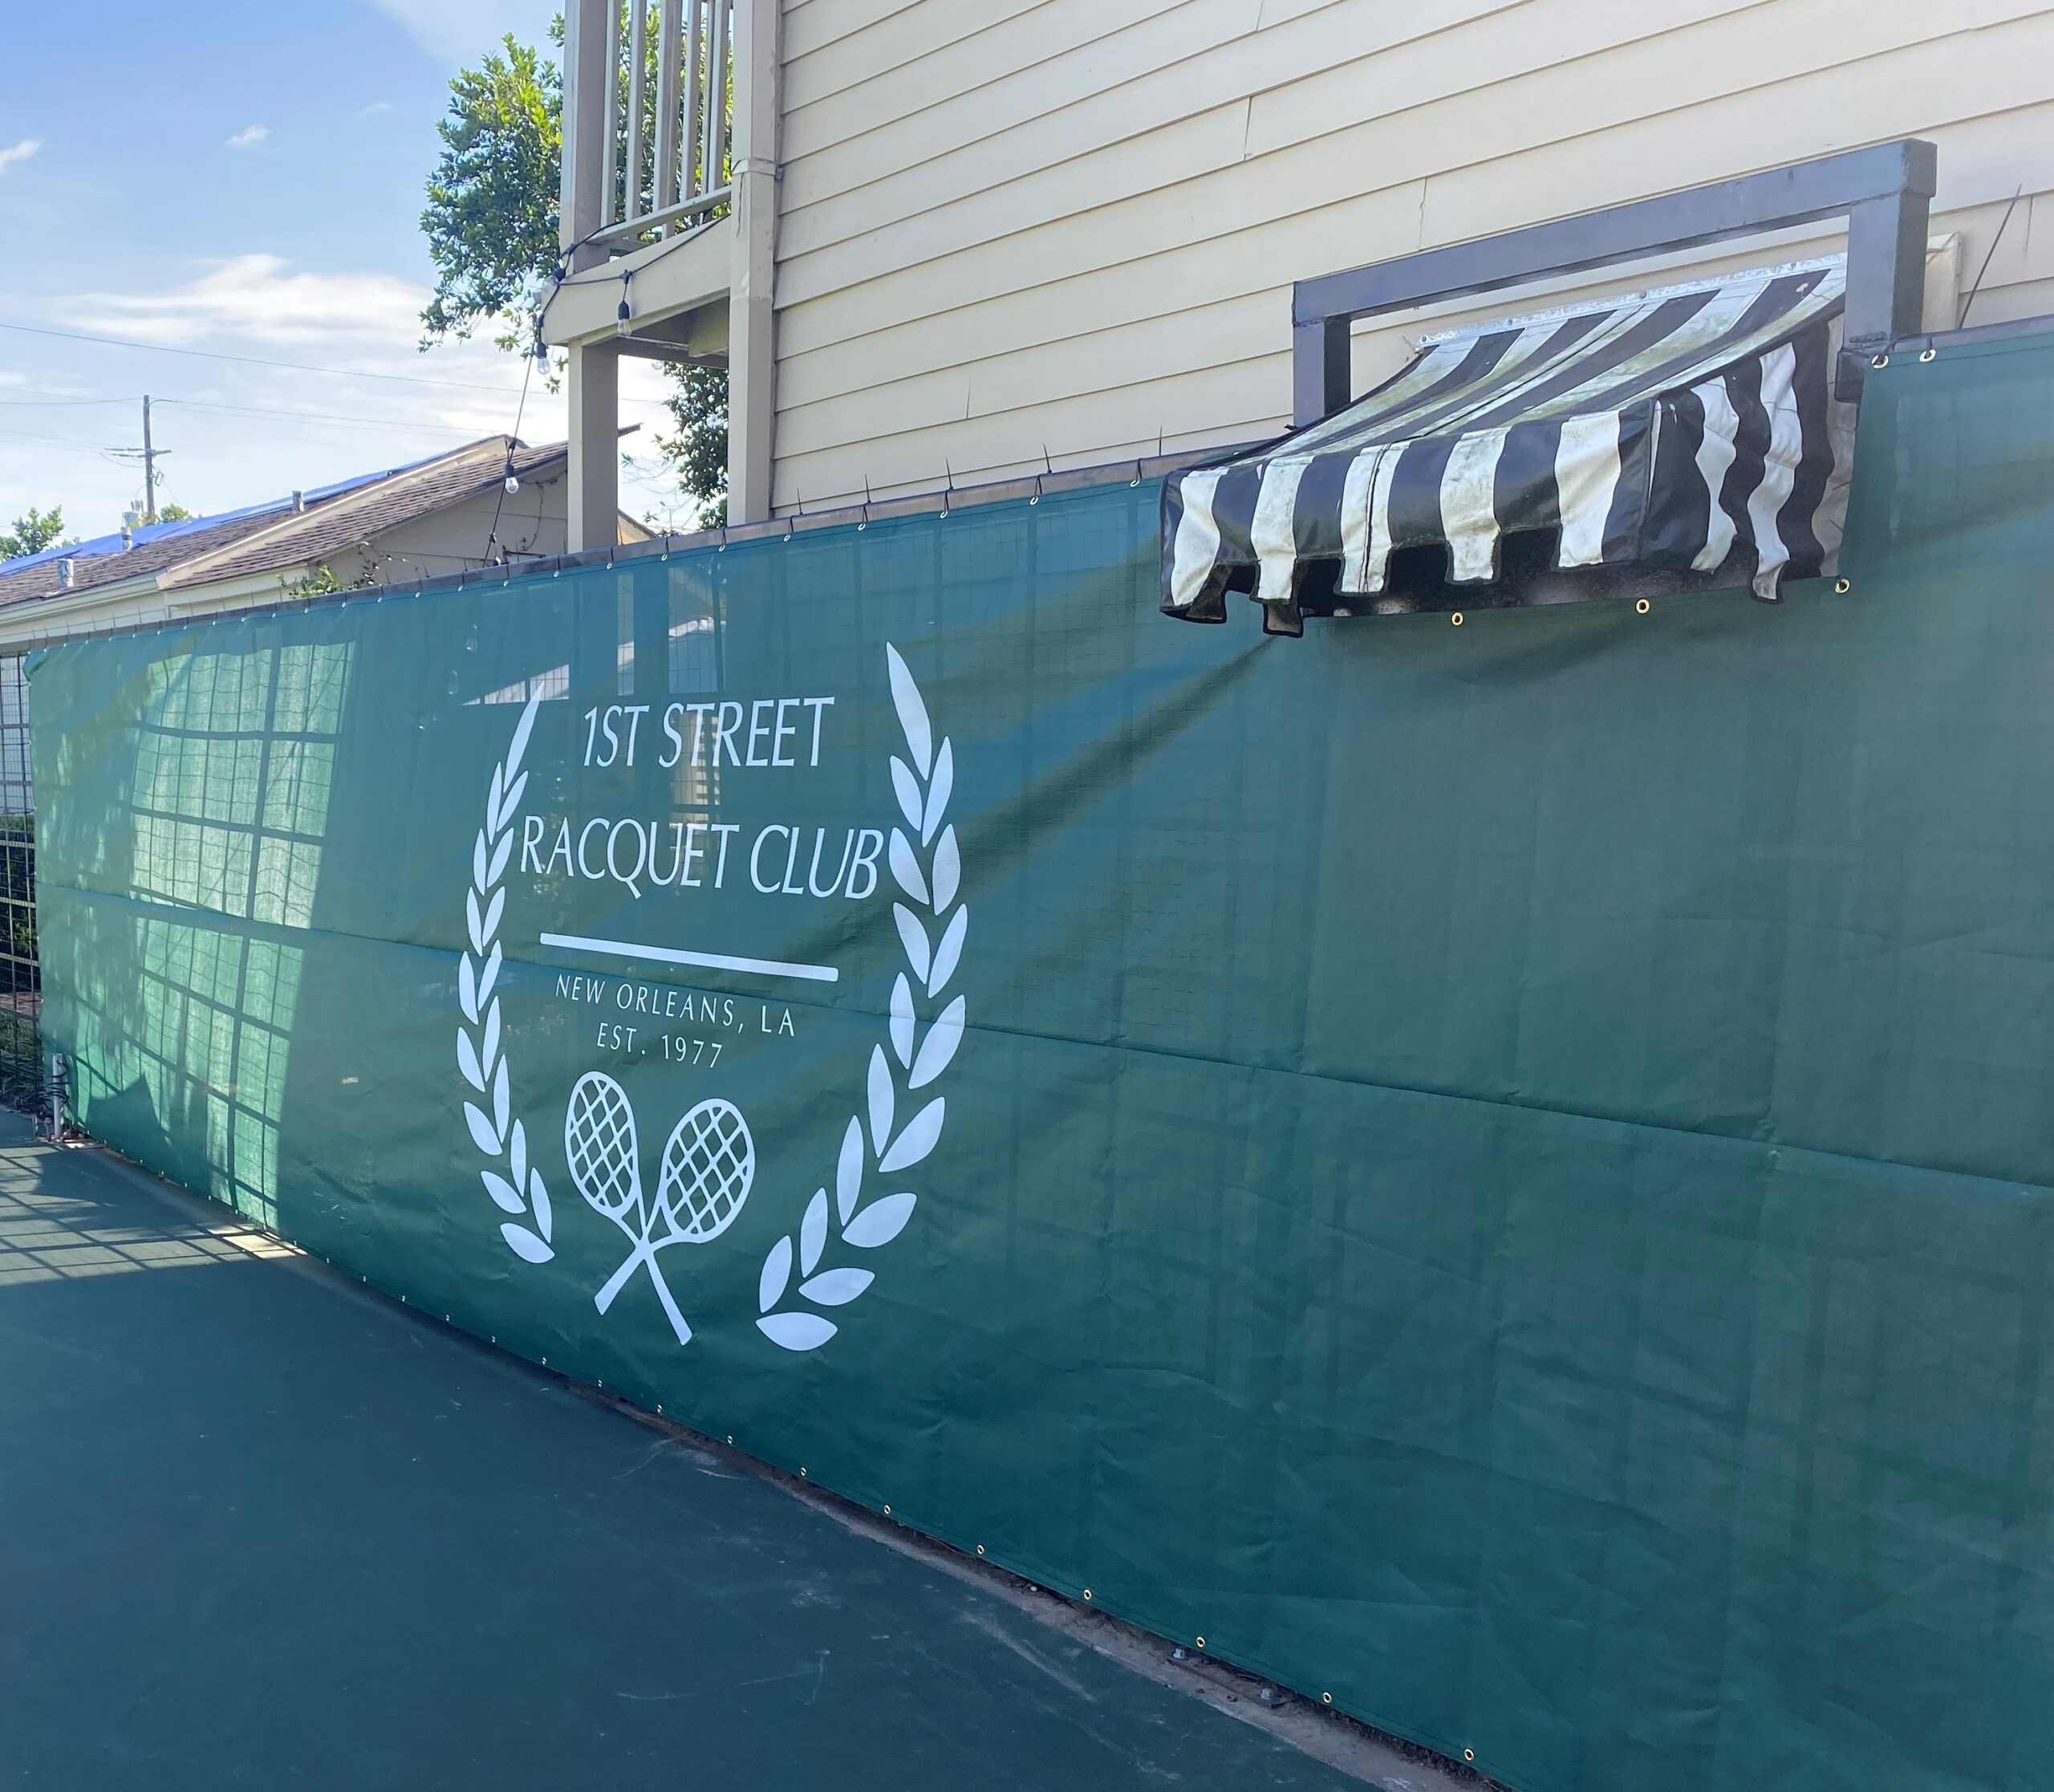
Your windscreen has a “front” and “back.” The smooth, finished side (without the folded hems or seams) should always face into the court or playing field for the most professional look. The stitched hems should rest against the fence.
Tip 4: Find the Top
If your custom screens have air vents (like half-moon cutouts), they are always installed at the top of the fence.
Part 2: The Installation Process (How to Hang)
Tip 5: Start at a Top Corner
Secure one of the top corners of the panel to the fence mesh (not the top rail) with a zip tie.
Tip 6: The 10-Foot Section Method
- Work along the top edge, attaching zip ties to every grommet for about 10 feet. Pull the screen taut, but do not stretch it. The goal is a flat, wrinkle-free surface.
- Go back to your starting corner and attach the vertical (side) edge, pulling down to create tension.
- Attach the bottom edge for that same 10-foot section.
- If you have a 9-foot screen, attach the center lacing lip/grommets last.
- Move to the next 10-foot section and repeat this entire process (Top, Side, Bottom, Center).
Tip 7: Use “S” Hooks
A great pro-tip is to use a few metal “S” hooks to temporarily hang the panel along the top rail. This holds the weight of the screen, making it much easier for one or two people to attach the zip ties without having to fight gravity.
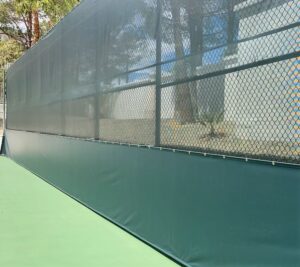
Tip 8: Leave a Gap at the Bottom
Never install a windscreen so it touches the ground. A 6-inch to 12-inch gap at the bottom is essential. First, it allows for proper airflow, which reduces overall wind load. Second, it prevents damage from weed eaters, edgers, and mowers, which will quickly destroy a bottom hem.
Part 3: Hardware & Common Mistakes (The “Don’ts”)
Tip 9: DO NOT Skip Grommets
This is the most common mistake we see. You must use a zip tie in every single grommet. Skipping grommets puts all the wind-load stress on the few that are used, causing them to tear out and leading to a complete panel failure.
Tip 10: Choose Your “Failure Point” (Hardware Matters)
Use 50 lb. test UV-rated zip ties for the entire perimeter (top, bottom, and sides). In an extreme wind event, you want these ties to break. This allows the screen to fall away from the fence, saving both the windscreen from ripping and your fence from bending or collapsing. A common mistake is using heavy-duty (120 lb.+) ties or rope on the perimeter. Because these won’t break, the screen will tear or the fence will fail.
Tip 11: Secure the Center
For 9-foot high screens, that center anti-billow grommet strip is not optional. It must be secured (often with a heavier-duty zip tie or lacing cord) to prevent the screen from “whipping” or “billowing” in the wind. Left unsecured, this billowing will dramatically shorten the screen’s life.
Tip 12: Don’t Over-Tighten
Cinching zip ties as tight as they can possibly go will cause the material to ripple and pucker. The goal is to pull the screen “taut and flat,” not “drum-tight.”
